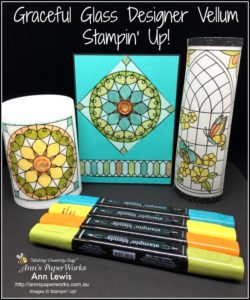
Graceful Glass Designer Vellum Global Stampers Challenge
This month’s Global Stampers’ Blog Hop Challenge is a 3 D project. I sometimes struggle with 3 D projects – not always does something creative quickly pop into my head and this month it was no different. But I do always have a soft spot for candles and tealights. After procrastinating for a few days, I decided that the Graceful Glass Designer Vellum would be perfect to work with. This pack comes in 6″ x 6″ sheets (48 per pack). But I am really not a traditional stained glass window type of gal. And I really did want something a little different.
Now whilst this was a 3 D challenge I decided that you had to make a card, just because. Each of these projects was coloured using Stampin’ Blends – Bermuda Bay, Daffodil Delight, Old Olive and Pumpkin Pie.
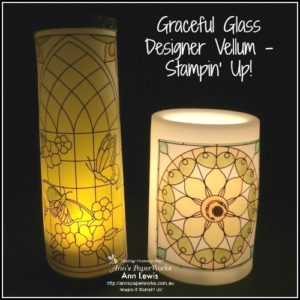
I love how these look of a night. I used a flameless tealight and a flameless candle (IKEA) for safety reasons.
Tips and Tricks
Some of the sheets of the Graceful Glass Designer Vellum can be cut into multiple panels. For the candle, I cut one sheet into four panels. I only used one panel for this project. The panel was adhered to the candle using Mini Glue Dots at each corner and in the centre. (10-minute project)
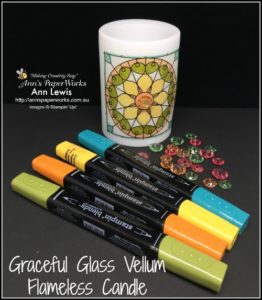
To decorate the centre of the candle and the card I used a Tinted Faceted Button and a Gold Faceted Gem. Adhere the button using a mini glue got. (15 mins project)
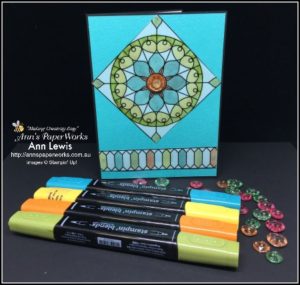
As I was looking for a different concept for the stained glass panel, I turned the panel 45 degrees which completely changed the appearance of the card. I was going to add a sentiment to the bottom of the card but I had used the strip of the Graceful Glass Designer Vellum as a test for the Blends. I quite often find scraps on my desk that I can repurpose as part of the project.
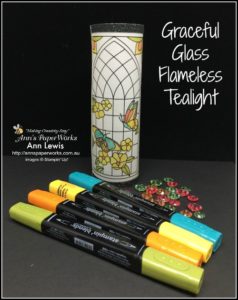
The tealight holder was very simple to make. I coloured one sheet of Graceful Glass Designer Vellum using the same colours as above. This is a very simple project. I adhered 1/4″ strip of black Glimmer Paper (now retired) to both the top and bottom of the strip. Join the two sides together to form a circular shape (Tear and Tape). This project would take about 15 mins.
Global Stampers Blog Hop Challenge

You are currently visiting me, Ann Lewis, so if you hopped forward to here from Alicia, back here from Fiona or are just starting here, welcome.
You will be able to hop around all the blogs by clicking on the links below. I hope you enjoy our projects and please feel free to leave a comment before you hop onto Fiona. Looking for Stampin’ Up! products and don’t live in Australia, check out the online store for the Stampin’ Up! demonstrator in your market.
Stampin’ Up! Product List
For further information about the products used in this project, click on the items below to view in my Online Store. I would love to be your Demonstrator if you don’t already have one and live in Australia. You can purchase these products from my online shop or you can order directly from me and have them shipped directly to your address. Please allow Demonstrator contact when ordering online so I can thank you properly. Stamp sets used in this project may be available in other mount options (wood-mount, clear-mount or photopolymer). I have listed the option that I used. If you are shopping online and your order is under $250, please use current Host Code R94NCM7C, which can always be found on the right sidebar of my blog.
I hope you enjoyed this project.



Wow, love all your projects and great idea to create a new look on your card by turning the vellum. x
Thanks Fiona. Appreciate you dropping by and leaving some lovely feedback.
I love how quick and easy your projects are but still so effective & beautiful 🙂
Thanks Alicia. Love getting feedback. Thanks for dropping by.
Great job Ann !
Thanks Valerie.