Santa’s Sleigh Christmas Card
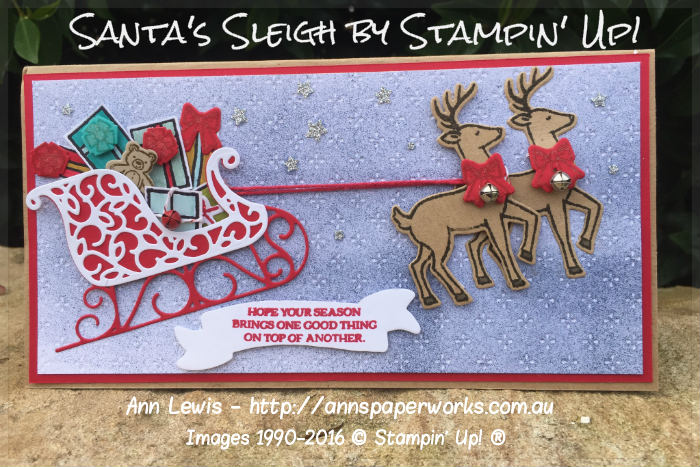
Yes, I am back crafting – more on that in another post. I just love this card featuring the Santa’s Sleigh stamp set and coordinating Framelits. I had this design in my head and the card actually turned out like I pictured it (in the middle of the night – need more sleep, me thinks). Aren’t those reindeer super cute?
Overall, this is a pretty simple card, just a little fiddly but it was so much fun to create. I didn’t want to make a card with the sleigh running over snow as I live in Australia where there is no snow at Christmas.
When the card was finished, I wanted to hug it – I know, I am pretty passionate about my crafting. I couldn’t wait to share this card with you.
The card will fit in a DL size envelope to make it a bit easier.
You will be able to see this card at the Christmas Kick-Off Parties this weekend and I will also be featuring the Santa’s Sleigh bundle.
So how did this card come together?
Card Base: Kraft 8-1/4″ x 7-7/8″ – custom size to suit the image
First Layer: Real Red 3-7/8″ x 7-3/4″; Top Layer: Fancy Frost Speciality DSP 3-5/8″ x 7-1/2″
Reindeers – Kraft; Sleigh – Whisper White and Real Red; Presents – Whisper White coloured with selected Stampin’ Write Markers and highlighted with Wink of Stella (both clear and gold); bows – Real Red on Real Red C/S.
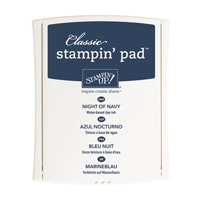
The bells on the reindeers and present are tied on with Baker’s Twine and also adhered using Glue Dots. The reindeer are stamped in Early Expresso, the bows are in Real Red and Bermuda Bay. The teddy bear is stamped in Early Espresso on Crumb Cake. The reins are Real Red Baker’s Twine. I coloured the background with Night of Navy using a sponge brayer (I used the reverse side of the DSP).
The sleigh was adhered along the bottom rung using the Fine Tip Glue Pen. The top of the sleigh was adhered using small pieces of Foam Adhesive Strips. This means that the sleigh sit flat at the bottom and is raised at the top. The presents are carefully arranged using Stampin’ Dimensionals, Glue Dots and Fine Tip Glue Pen.
The sentiment was die cut and adhered using Stampin’ Dimensionals. The stars were punched out using the Stars Confetti Punch and adhered using the Fine Tip Glue Pen.
Stampin’ Up! Product List
For further information re the products used in today’s project, just click on the items below to view in my Online Store. I would love to be your Demonstrator if you don’t already have one and live in Australia. All these products can be purchased through my online shop or ordered through me. Please allow Demonstrator contact when ordering online so I can thank you properly. Stamp sets used in this project may be available in other mount options (wood-mount, clear-mount or photopolymer). I have listed the option that I used.
I hope you enjoy making this Christmas card as much as I did. Have a great day. Ann


